How to Prepare a Part for 3D Scanning: Surface Finish, Geometry, and Access Factors That Drive Accuracy
3D scanning preparation can make or break your project’s accuracy. Overlooking surface finish, geometry, or access challenges leads to costly rework and delays. This guide breaks down how to prepare a part for 3D scanning with proven steps that improve data quality and speed your downstream CAD and inspection workflows. Read on to sharpen your approach and get reliable results from every scan.
Surface Finish Considerations
Getting the surface finish right is crucial for accurate 3D scanning. It impacts how well the scanner captures details, especially on complex surfaces.
Gloss and Transparency Challenges
Glossy and transparent surfaces can confuse scanners. The light reflects unpredictably, causing data gaps. To tackle this, you might need to dull glossy surfaces. A simple example: scanning a shiny car part. You can use a temporary spray to reduce shine. This helps the scanner capture true geometry without distortion. But remember, once the scanning is done, ensure you clean the part thoroughly.
Matte Coating Techniques for Scanning
A matte finish is ideal for scanning. It reduces reflections and enhances detail capture. One popular method is using a scanning spray. It creates a temporary matte layer. This layer ensures even light distribution, making it easier for the scanner to pick up details. For instance, a metallic object with a matte spray will scan more accurately. Just ensure the spray is non-permanent and easy to remove post-scan.
Reflective Parts 3D Scan Solutions
Reflective parts pose a challenge similar to glossy ones. The reflections can distort the scan data. One effective solution is using a powder spray. This technique dulls the surface and makes it non-reflective. Another tip: adjust the scanner’s settings to minimize reflection interference. Through these methods, you can achieve a more accurate scan of reflective items.
Geometry and Feature Preparation

Preparing for geometry challenges ensures your scan captures every intricate detail, from small radii to deep pockets.
Managing Small Radii and Deep Pockets
Small radii and deep pockets can be tricky. They often fall in shadowed areas, which scanners might miss. To address this, consider using a smaller scanner head. It can access tight spaces better. When preparing your part, ensure these features are clean and free of debris. This cleanliness allows the scanner to capture them without obstruction, ensuring accurate data collection.
Addressing Sharp Edges for Accuracy
Sharp edges can lead to scanning inaccuracies. The scanner might blur them, leading to less precise models. Focus on maintaining clean and defined edges. If needed, slightly dull the edges without losing essential detail. Doing this helps the scanner capture the transition points accurately. It’s a small step but can significantly impact the final scan’s quality.
Occlusion Management Strategies
Occlusion occurs when parts of the object block others from the scanner’s view. It’s a common challenge but manageable. One strategy: rotate the part during scanning. This movement ensures every angle is captured, reducing blind spots. Another approach: use multiple scanners simultaneously. It covers more angles and minimizes occlusion-related issues.
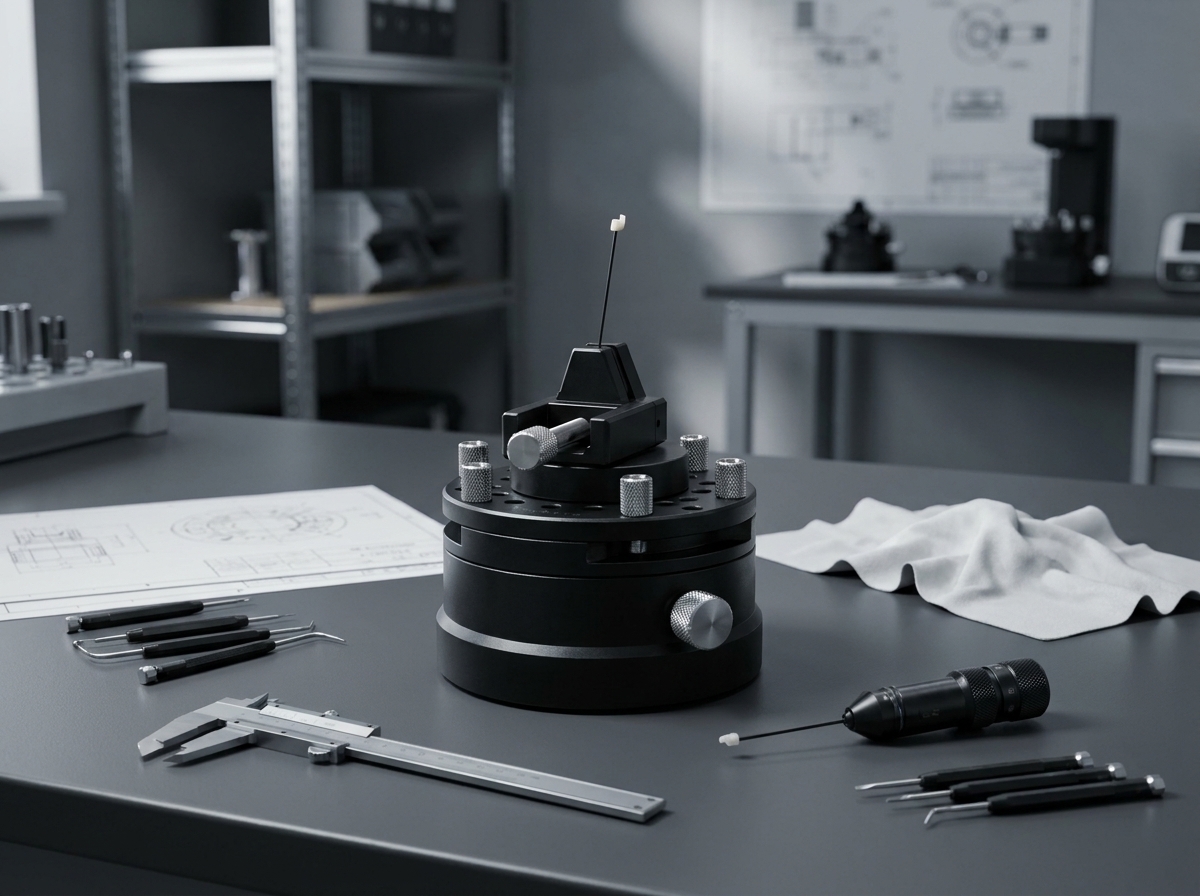
Scanner Access and Fixturing

Ensuring stable access and proper fixturing enhances scanner precision and part stability during the process.
Part Fixturing for Scanning Stability
Stability during scanning is crucial. Any movement can blur the results. Use fixtures to hold the part securely. These fixtures should not obscure areas needing scanning. For instance, a car door can be mounted on a frame that holds it steady but allows full surface exposure. Proper fixturing ensures that the scanner captures accurate, vibration-free data.
Line-of-Sight Scanning Techniques
Line-of-sight scanning means ensuring the scanner has a clear view of each part of the object. Adjust the object’s position to minimize obstacles blocking the scanner’s path. Sometimes, moving the scanner instead of the part is more efficient. This technique ensures no area is missed, leading to complete and accurate scans.
Placing Reference Targets for Precision
Reference targets help the scanner align each scan accurately. Place these targets strategically on the part’s surface. They serve as guide points for the scanner, ensuring consistent data capture. By using these targets, you can improve the scan alignment, leading to more precise digital models. Remember, these small steps make a big difference in the final outcome.